THURSDAY, DECEMBER 30, 2010
Make & Take Thursday is here
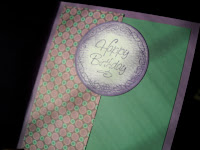
Stop by the store between 11 and 1pm today to make this quick card with the gang at PICTURE THIS in Eau Claire, Wisconsin. We always have a ton of fun!!
WEDNESDAY, DECEMBER 29, 2010
TUESDAY, DECEMBER 28, 2010
MONDAY, DECEMBER 27, 2010
SUNDAY, DECEMBER 26, 2010
SATURDAY, DECEMBER 25, 2010
FRIDAY, DECEMBER 24, 2010
THURSDAY, DECEMBER 23, 2010
12 Tags redo
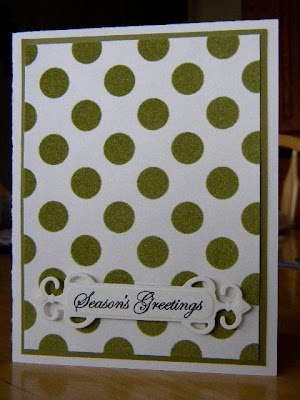
I loved doing the 12 tags of Christmas from Tim Holtz at the beginning of the month, but I wanted to take all that knowledge and turn it into a card. So this is a card version of the tag from this day that I did.
WEDNESDAY, DECEMBER 22, 2010
TUESDAY, DECEMBER 21, 2010
MONDAY, DECEMBER 20, 2010
SUNDAY, DECEMBER 19, 2010
SATURDAY, DECEMBER 18, 2010
FRIDAY, DECEMBER 17, 2010
THURSDAY, DECEMBER 16, 2010
WEDNESDAY, DECEMBER 15, 2010
TUESDAY, DECEMBER 14, 2010
12 tags.....last one....Day 12
The last of the lot. The 12 Days went by so fast! We had a lovely snowstorm in the middle of the fun, internet issues on day 1....but we survived and I have 12 tags to prove it.

Find the version of the above HERE. The last one was a simple one and I didn't have all those materials, so I made do with what I had...I can work outside the box.

Find the version of the above HERE. The last one was a simple one and I didn't have all those materials, so I made do with what I had...I can work outside the box.
MONDAY, DECEMBER 13, 2010
12 Tags...Day 11
Tim is done...but I am still on Day 11......my last will post tomorrow and then I will be back to our regularly scheduled crafting....because BABY, it's COLD outside!!
Here is the version I am going off of, and above is my version.
SUNDAY, DECEMBER 12, 2010
12 Tags ...Day 10
Another great tag.....and a great technique. Check out theT!M tag here and then see what I did differently.
SATURDAY, DECEMBER 11, 2010
12 Tags of Christmas Day 9
Here is his version.....and this is what I used for mine.
FRIDAY, DECEMBER 10, 2010
THURSDAY, DECEMBER 9, 2010
12 tags...Day 7
Creative and fun! I really liked this tag technique. Check out T!M's version here and then see what I did differently.
WEDNESDAY, DECEMBER 8, 2010
TUESDAY, DECEMBER 7, 2010
MONDAY, DECEMBER 6, 2010
SUNDAY, DECEMBER 5, 2010
SATURDAY, DECEMBER 4, 2010
FRIDAY, DECEMBER 3, 2010
THURSDAY, DECEMBER 2, 2010
WEDNESDAY, DECEMBER 1, 2010
A little decorating
Today is the beginning of the 12 days of Christmas at several websites....and I am going to try joining in the fun too.
For my DAY 1 project I did this:
Easy Peasy and I found my inspiration at this site for my project for today. As soon as I saw it I knew I had to make one...but my way. Plus I had a bunch of those little battery operated candles. Battery operated is important in this project.....real candles would be a problem!
Materials:
Paper: Paper Cut cardstock and metallic cardstock
Vellum
Brads: Making Memories
Spellbinders: Snowflake die
This is so simple you can make several for you mantel or even your porch. It is a variation of the luminaries I remember from my time in New Mexico. My finished project measures 5x6 with a depth of about 2 inches at the widest point. The great part is that you only have to attach the ends and not worry about leaving room for the candle because it curves around it when you put it in the middle.
I used the plain cardstock for the main part of the luminary and the metallics for the binding edge. I used my BEACON'S 3 in 1 glue for the paper adhesion (vellum to paper). The brads on the edging are used to reenforce the seem on the edge, but you could get away with just glueing it to and adding some bling gems or pearls. I might have to try this with some patterned paper too. Seriously, this only took 20 minutes to put together....and part of that time was figuring out how big to make it to fit the snowflake die into the middle.


No comments:
Post a Comment