I have moved my posts from an old blog to this one and I have moved one month at a time.....I have been blogging far too long to post each one on a separate day. Enjoy the below post for the month mentioned in the tag line.


TUESDAY, JUNE 29, 2010


MONDAY, JUNE 28, 2010


SUNDAY, JUNE 27, 2010
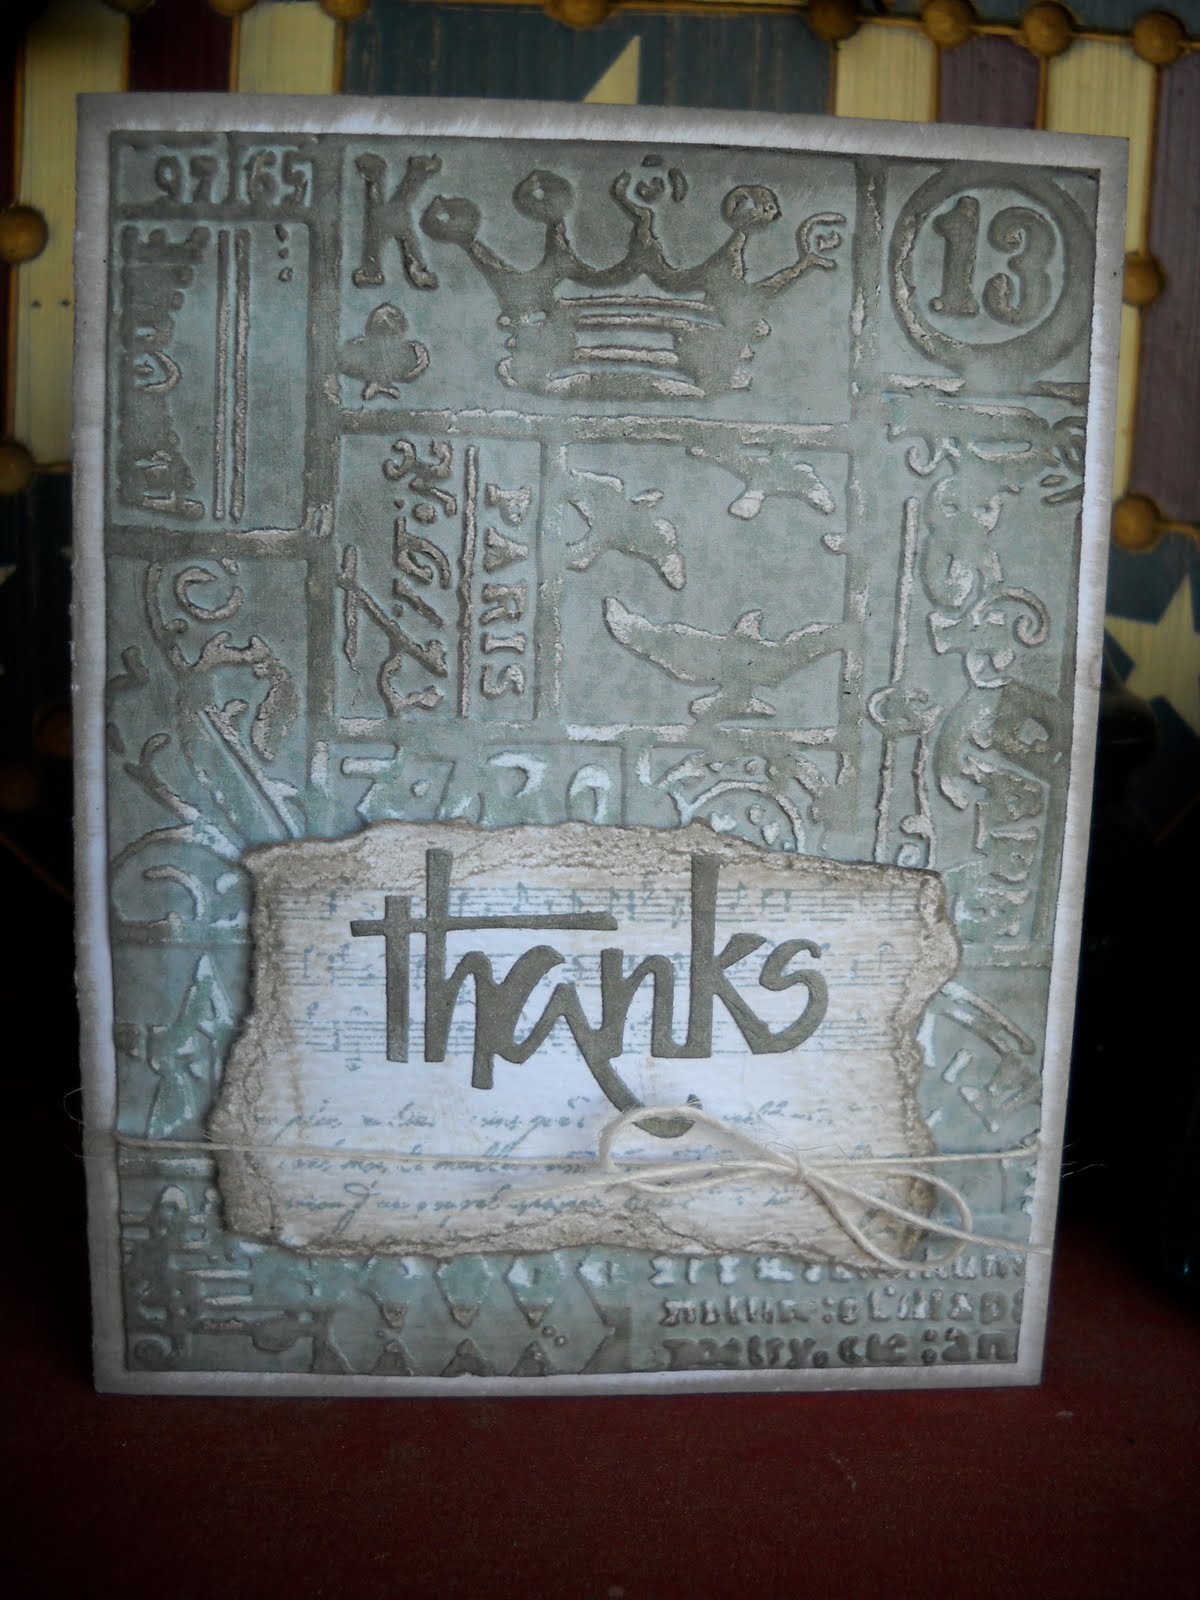
Tim Holtz week....

The newsprint is actually something I printed off on my computer from newspaper clippings I am copying for my older son's scrapbook pages. There is a lot of leftover pieces so why waste them? I embossed the reddish paper with the embossing folder (this is the most awesome embosssing since Cuttlebug.... seriously people) and then inked over the raised image with my ink pad. Once that dried I swiped it with my crackle paint for a little more distressing. The rest is just inking and layering.
SATURDAY, JUNE 26, 2010
Make a WISH
 The inside and a close up...

I used my new folder today.....yay for me!! I took the folder and rubbed the whole ink pad on the flat side and then put the paper on it...then ran it through the CUTTLEBUG. Love it! The rest is simple layers and stamping. Love the bright colors.
FRIDAY, JUNE 25, 2010
Miss You...miss me?

There was a cute little birdie on this new paper I found from Creative Imaginations....if you follow my store blog tales you will remember my "find". Anywho.....I just thought it was the cutest thing ever...so I crafted a card from the paper...both sides...that is the beauty of the double sided paper. Simple design, kinda bright so the camera is really not liking the reds this time. Again, the real life card is in the store so check it out in all it's glory...lol
THURSDAY, JUNE 24, 2010
Bicycle, bicycle....I want to ride my bicycle

snuck in another page while I work on the samples for the A*MUSE*A*PALOOZA stamp release coming up next month......yeesh, I have a lot to get done in a short amount of time! This page was started a while back but I needed just little something more to complete it. I decided the tissue tape was the perfect addition to the antique theme of the bicycle card from My Mind's Eye. The "summertime" tag also has a distressed look. The green circles are leftovers from another My Mind's Eye tag set.
WEDNESDAY, JUNE 23, 2010
Pages, more pages

It is sad to realize that I have a ton of new goodies to play with and I haven't even gotten them out of the packages yet....but I gotta have them! This is a page of my youngest doing his 1600 run. Hopefully later I can get out some of the new Tim Folders and do a little embossing!!
SUNDAY, JUNE 20, 2010
WHATever..........


SATURDAY, JUNE 19, 2010
Leftovers.....


I used some goodies from the FAB 5 projects to create this little card.
I cut each little tree out of the paper design and just added them to the cork scallop I created along the edge of the card. Simple design using up my leftovers!! The best part of creating, getting those things used up!!
FRIDAY, JUNE 18, 2010
FAB 5 Day 5

A simple card with the ribbon run along the edge.
thanks for joining us this week for the FAB 5 blog hop....hope you had a good time and are going to try a few new products and techniques.
THURSDAY, JUNE 17, 2010
FAB 5 Day 4


I like throwing a tower size card into the mix for a different spin on cards. The A2 (quarter fold) is nice, but I do a lot of those, so a few different sizes on occasion is fun. Since the patterned paper we are using today for the FAB 5 project has a subtle design on it but a nice creamy base I went with brown and blue for my ink colors. The Denim blue from the papers work perfectly with the Tim Holtz inks. I cut out the film strip die from dark brown paper and added the little pictures from a border strip on the Graphic45 border sheet. Another tag from the Graphic45 beach line and a few brads make it complete.
WEDNESDAY, JUNE 16, 2010


TUESDAY, JUNE 15, 2010


MONDAY, JUNE 14, 2010
FAB 5 Day 1


A page! I created a page with my FAB 5 product this time!! I am usually a card person when it comes to the FAB 5 projects, but this piece of TPC Studios paper with the Save the World For Me theme was perfect for this photo.
I started with the green leaves paper for the background and the "save the World" piece to offset the photo. The green strip along the right side is the border strip you cut off the TPC paper...can't beat a coordinating paper right there for you! The rest was just adding the little elements from the die cuts I thought would work with my theme. I did a little pop-dotting with the trees and I inked the chipboard letter with my ink pad.
SUNDAY, JUNE 13, 2010
 Another busy day in the household! Another graduation today and a Walk in the Park for A.L.S. We will be walking in Irvine park today at 1:15 for A.L.S. if you are interested in joining us or want to check out those new TIGERS at the zoo!! Registration begins at 11:00 with lunch at 11:30. Silent auction with donated items begins at 11 as well. See the donated item I am bringing above....yum....plus I will have more there too....some scrappy supplies perhaps.?..?..?


....plus....I did mention a graduation party again.....whew...last one! This is the custom card for the recipient. I got to play a little with some NEW GOODS....yay for ME! FUN, that is all I can say about the TISSUE TAPE from Tim Holtz. The card itself is pretty basic, layers and a tag...but the letters are hand crafted! Ok, I cheated by using my CUTTLEBUG...but you gotta use your tools people!! So basically I cut a piece of grunge paper (grunge board would work too) and took some pieces of the Tissue Tape and placed it in random strips on the grunge paper covering it up. Each TISSUE TAPE comes with two different patterns with 16 yards (YARDS people!!) on each roll. After the tag was in place I used my letter die cut plates and cut them out. Simple, yet very much ONE OF A KIND! I glued those to the tag, stamped the "celebrate" above it and then pop dotted that to the card.
SATURDAY, JUNE 12, 2010
CELEBRATE!


o a basic square card with the tag that is pre-made from My Mind's Eye...which, of course, works perfectly with the matching patterned paper! I cut a matching piece of cream cardstock for the back of the tag to cover the overhang and create a pocket for the "gift" and for a place to write on the inside of the card. Oh, and we have similar flowers in the store but without the writing on them. PETALOO makes a cute big petal flower that would work with many of the products we have in the store.
FRIDAY, JUNE 11, 2010
More guys birthday

THURSDAY, JUNE 10, 2010
Guy Birthday


I have tried making a shaped card with my Nestabilities before, but not with this particular die. The height for this label is perfect for an A2 card envelope (1/4 fold) but the width is a little short, so you can do a bit of overhanging with your embellishments. When all is said and done you can put this card right in a normal envelope which is ideal! The kraft paper on this card base comes from a Scenic Route patterned piece that has a little design in one corner leaving a lot of plain kraft to work with.
WEDNESDAY, JUNE 9, 2010
Page 2

Sorry, another blurry shot. I took the newspaper updates and copied them in my copier with a light cream cardstock and then inked it a bit more. All is safe and only what I want is included in the layout without cutting up the actual paper (which is stored carefully away). I used a green COPIC marker to highlight the name and time and event in the article. I plan to do this for all his runs so you will see this again over the next few months. I intend to have his whole season done before school starts this fall.
TUESDAY, JUNE 8, 2010
Father's Day


I used the same technique as I did in the Sunday post, just different colors for a different look. Since Father's Day is this weekend, I figured a fishy card was in order for one of the dad's. Using the brown and green shades gave me the exact colors I needed to make it look like the lakes we used to go fishing on. The die cut letters from GRAPHIC45 are pop-dotted in place and
MONDAY, JUNE 7, 2010
Custom Grad card

I used a 12x4 inch piece of cardstock and folded it in thirds for the card base. Then I attached the black panels after embossing them. The pocket for the cash is created from the cardstock set from Rusty Pickle.
SUNDAY, JUNE 6, 2010
Fishing for compliments


I used some white cardstock to emboss the image with and then used my sponges and inks to rub the color onto the raised edges very carefully. I rubbed the orange ink on first and then went back and did the blue for the watery areas. I used a blender pen to rub more ink into the areas around the fish to fill in the water colors. I topped the fish with the Stickles for that added realistic look. Inside the card I used the fish scale looking embossing plate and added a small square of orange for writing on.
...and for those interested in how well Nick did at state yesterday; he finished 10th out of the 17 top runners for the 3200 in the state for D3 schools with a personal best time of 10:11:55. Not bad for a sophomore seeded at 15th running in the pouring rain.
SATURDAY, JUNE 5, 2010
State Run
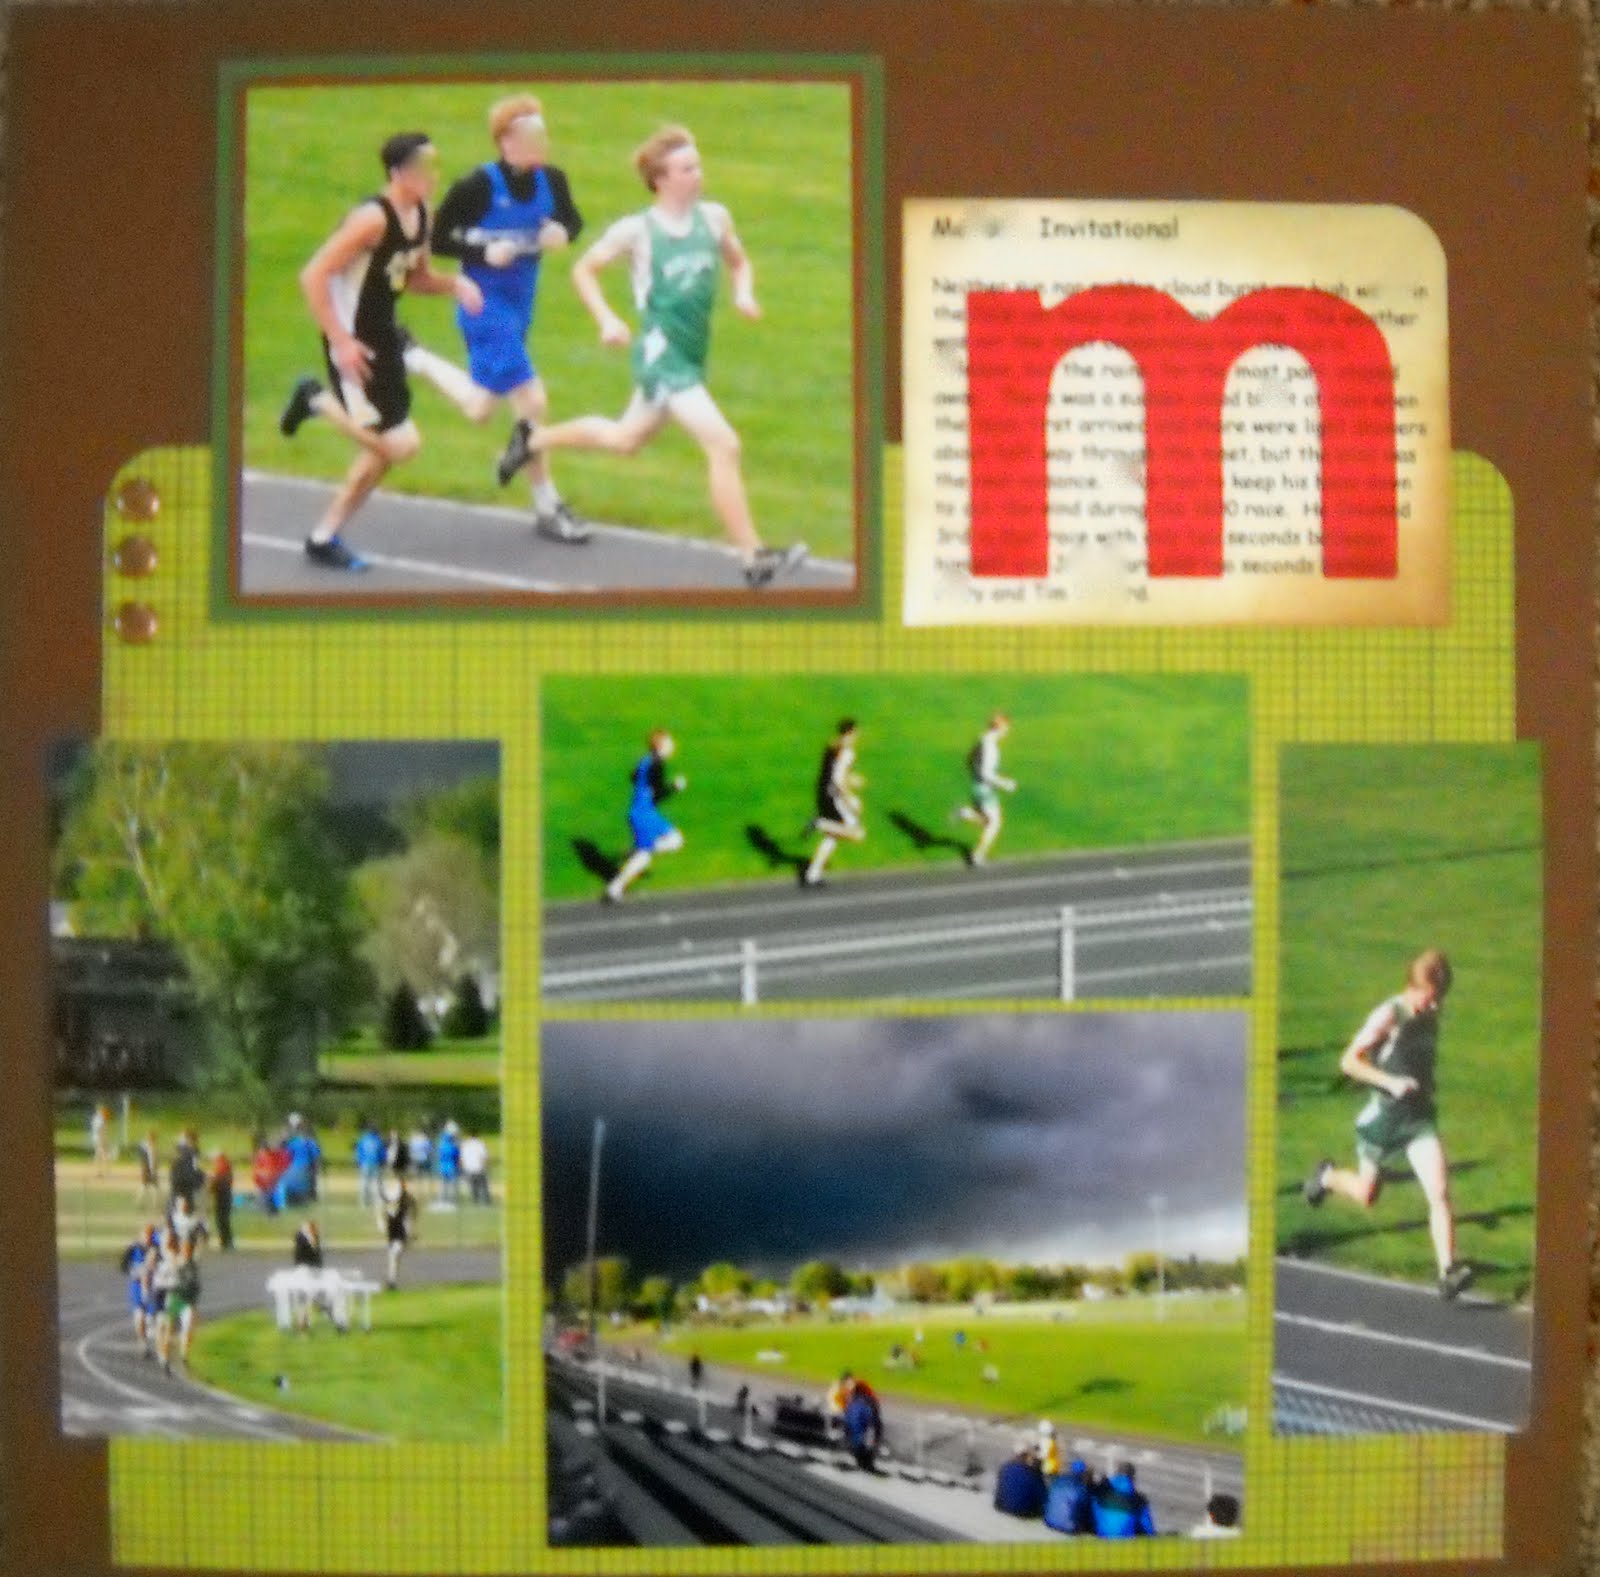
Ok, so you can basically see the layout of the photos and the journaling. I used the acrylic "M" over the journaling to highlight the location of the run and because it was a piece of my stash I have to use up...we DO NOT have these in the store....but you might have some of these just laying around. I like to use old stuff with the new....goodness knows I have a lot of older stuff!
Oh, and did I mention something about STATE in my post title??? Yup, my oldest is running at STATE today in the 3200. He is in the top 17 for boys in the state in D3. Not bad for a sophomore. WISH HIM LUCK TODAY.
FRIDAY, JUNE 4, 2010

THURSDAY, JUNE 3, 2010
Run...

I have tons and tons of running photos (no...really?) that I need to get on pages for the albums I will fill with all my boys running escapades. This is my youngest running in his relay where his must trust the guys to hand off the baton. I filled the filmstrip holes with the info about the race and used the black stripes on the side to journal about the race.
WEDNESDAY, JUNE 2, 2010
Congratulations

 Above is a close detailed look at the flowers on the card front. I also popped-up the "banner" across the front with pop-dots on the inside of the curved end and tape in the middle and on the very end pieces.
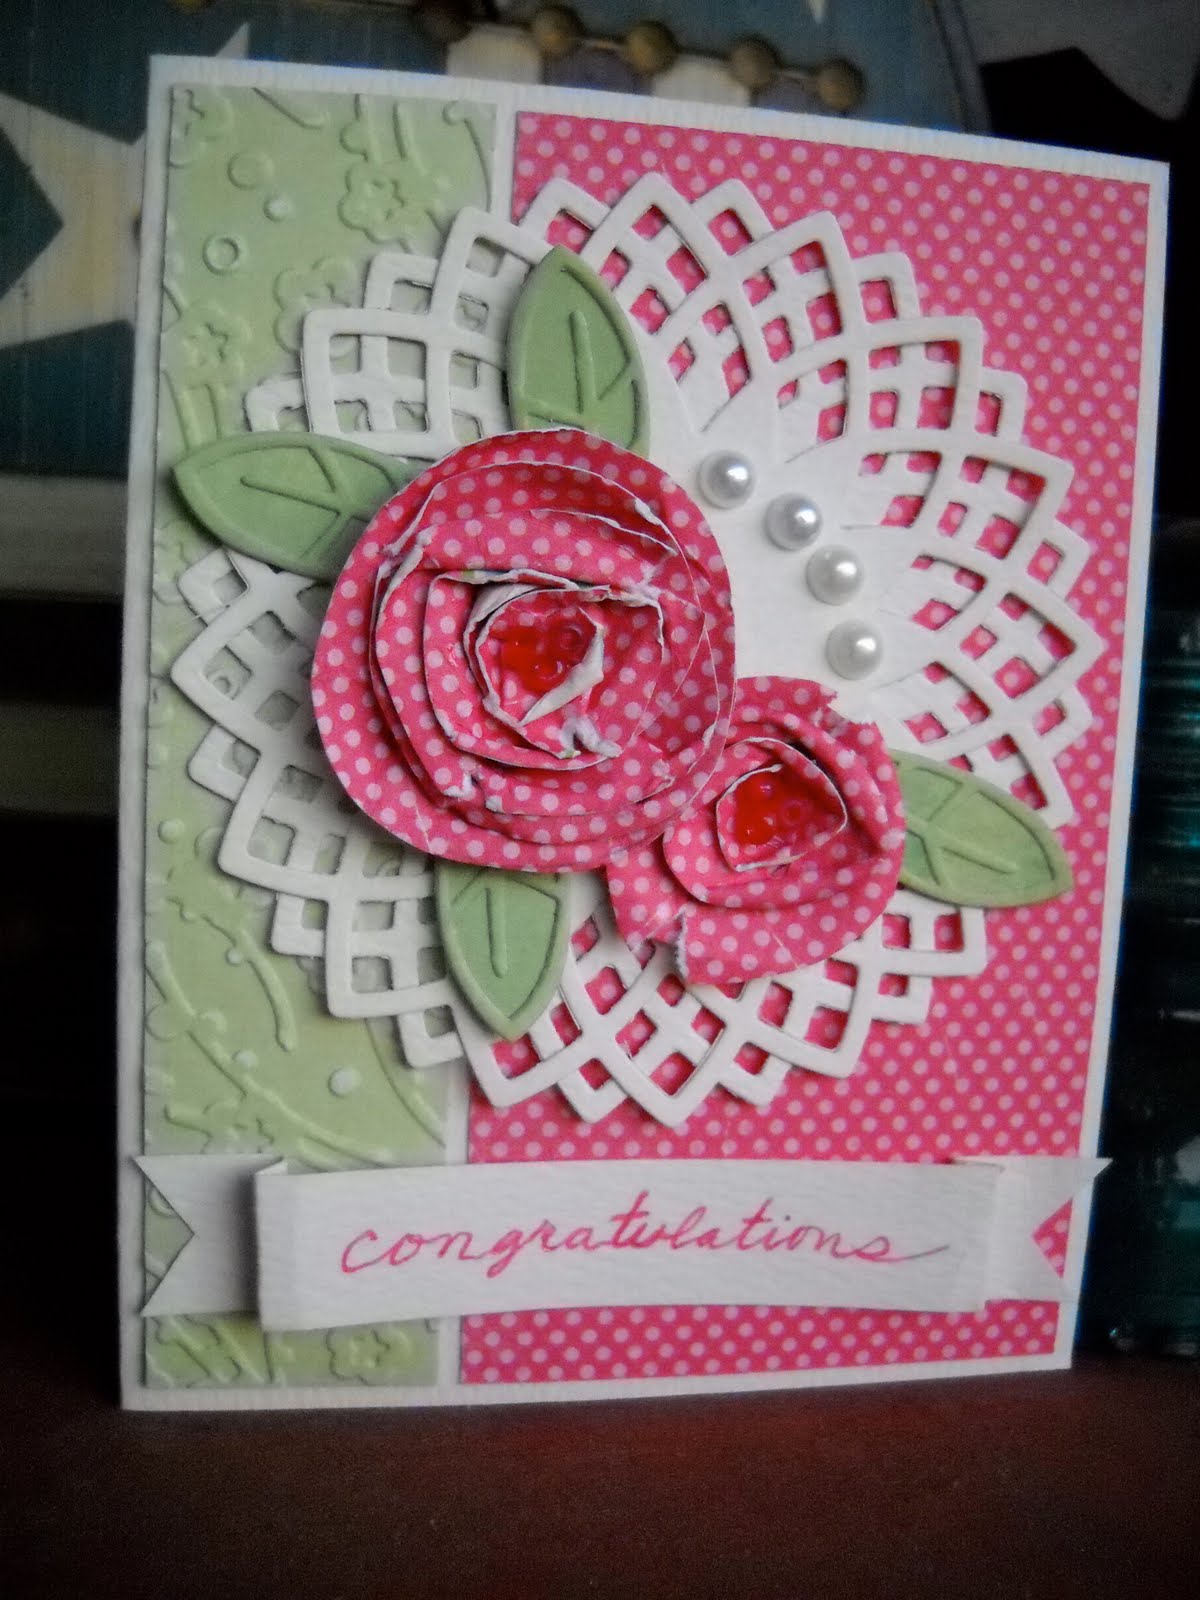
This is playing with the twisted paper roses that I have been seeing all over the internet! I found a tutorial for them a while back and finally got around to trying it out. By the time I made the third one, I was pretty confident with the technique.
I took two lotus flower cuts and put them together to create the double background for the flowers. I love the look. The flowers were created with a double sided paper from My Mind's Eye (make sure to find one with two sides that go well together and work with your background papers). I embossed the green strip on the left with the little cherry blossom folder from the "Plum Blossom" set. A really cool set of folders I might add!! The banner was hand cut and hand written on. The beads were glued into the center using GLOSSY ACCENTS to hold them in place. Gems would work great here too, but I had this handful of beads I needed to use up so this was my solution for getting them out of my stash.
TUESDAY, JUNE 1, 2010
Happiness is......

I used a double sided piece of paper from My Mind's Eye so that I could sand off the raised dot images for this card. CORE'dinations will do that same thing, but I happen to have a lot of MME product in my house..lol! I used a new stamp from Imaginisce to...the Queen Ann's lace flower (or a weed as my hubby would say) is a clear acrylic min stamp I just had to buy when they went through the line.. Simple design that works for any occasion.